
Embarking on a DIY hardscaping project can transform your outdoor space, adding value and beauty to your home. Whether you dream of a rustic stone wall or a charming patio, this guide is designed to equip beginners with the knowledge and tools to bring these projects to life.
Choosing and Sourcing Stone Materials
Stone Walls: For stone walls natural stones are your best bet for achieving a classic, durable structure. Look for local quarries or stone suppliers for the best deals. Consider the colour and shape of the stones to match your outdoor aesthetic.
Patios: Pavers are ideal for patios due to their uniformity and ease of installation. However, natural stone can provide a unique, organic look. Your choice should balance between aesthetics, cost, and maintenance requirements.

Tools and Equipment
Essential tools include a shovel, level, mallet, chisel, and safety gear. Renting more specialized equipment like a wet saw for cutting stones or a plate compactor for patios can save money compared to purchasing outright. Always prioritize safety by wearing gloves, goggles, and protective footwear.
Step-by-Step Guide
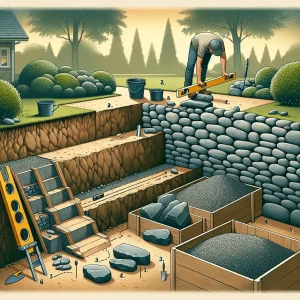
Building a Stone Wall:
- Foundation: Dig a trench about 6 inches deep and fill it with gravel for drainage. Compact the gravel and check for levelness.
- First Layer: Lay your enormous stones along the trench to form the base. Use a level to ensure stability.
- Subsequent Layers: Stack stones, staggering the joints. Use smaller stones to fill gaps, ensuring each layer is level.
- Capping: Finish the wall with flat, large stones to cap it off, securing them with mortar if necessary.
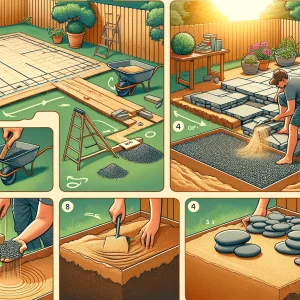
Creating a Patio:
- Planning: Mark out the area for your patio, considering sun exposure and drainage.
- Excavation: Dig up to 8 inches deep, depending on the stone thickness and the sand/gravel base layers.
- Base Layer: Fill the area with a gravel base, compact it, and ensure a slight slope for water runoff.
- Sand Layer: Add a layer of sand over the gravel for a smooth, level surface.
- Laying Stones: Start from a corner, placing stones tightly together. Use a rubber mallet to secure them in place.
- Filling Joints: Sweep sand over the patio to fill the gaps between stones.
Budgeting and Cost-Saving Tips
- DIY Tools: Borrow tools when possible and rent heavy-duty equipment only as needed.
- Material Sourcing: Look for local materials and consider reclaimed or recycled stones, which can offer character and cost savings.
- Bulk Purchases: Buying materials in bulk can reduce costs significantly. Collaborate with neighbours on projects to share expenses.
Maintenance and Upkeep
Stone Walls: Inspect your wall annually for loose stones or mortar and remove any vegetation that may cause damage.
Patios: Regularly sweep your patio and re-sand the joints to prevent weed growth and maintain stability.
Common Mistakes to Avoid
- Skipping the Planning Phase: Ensure you have a straightforward design and understand the scope before starting.
- Poor Foundation: Both projects require a solid foundation. Don’t skimp on preparing the base layer.
- Ignoring Drainage: Proper drainage is crucial to avoid water damage and ensure longevity.
- Mismatched Materials: Ensure consistency in the type and colour of stones for a cohesive look.
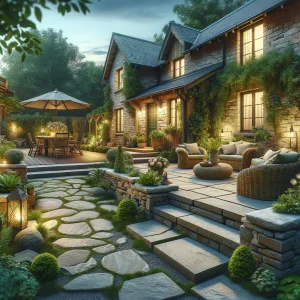
Conclusion
DIY hardscaping is a rewarding endeavour that can significantly enhance your outdoor living space. By following these guidelines and avoiding common pitfalls, beginners can successfully tackle stone wall and patio projects. Remember, patience and preparation are key. Don’t rush the process; don’t hesitate to seek professional advice if you encounter challenges beyond your skill level. With the right approach, your DIY hardscaping project will be a beautiful and durable addition to your home.